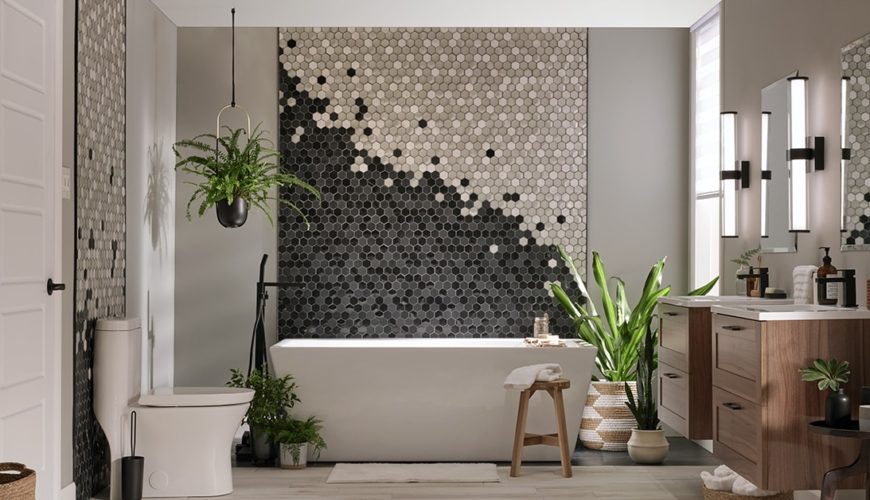
Putting in mosaic tiles has always been a popular option for floor and walls. In general, the tiles are resistant to moisture and stains, which make them perfect for bathrooms and kitchens. And you can arrange the tiles to come up with an intricate design, or even an image. Really old churches have used mosaic tiles to great effect, and you can now have a similar vibe for your home.
One of the advantages of using mosaic tiles is that you can even do the installation yourself. As long as you have some basic DIY skills with the right materials and tools, then it shouldn’t be all that difficult. Even some DIY amateurs can do the job in 5 hours or less.
What You Need to Set Mosaic Tiles?
Here are the materials you need:
- Your mosaic tiles
- Straightedge
- Setting-type joint (or thin-set) compound
- Notched trowel
- Mosaic tile cutter
- Piece of plywood
- Marker
- Sharp utility knife
- Grout
- Tamping block
- Old toothbrush
How to Set Mosaic Tiles?
With your tools ready, you can start now:
A Perfectly Flat Installation Surface
Any job that involves setting tiny tiles requires that surface to be absolutely flat. If it’s in any way bumpy, then you just won’t succeed.
To do this, get the straightedge to check the installation surface. The straightedge will help you find any sort of deformation on the surface. If you find a dip on a wall, you should then screw a layer of setting-type joint compound over the dip. However, you should use thin-set instead of joint compound if you’re working on your floor, or on a wall with wet areas.
Let the joint compound or thin-set harden, and once that’s done you can now actually set the tiles.
Flattening the Thin-Set
Are you working with thin mosaic tile, or maybe glass mosaic tile that isn’t painted on the back? If that’s the case, use a notched trowel to apply the thin-set.
Then use the flat side of the trowel to flatten the thin-set a bit, before you set the tile. This flattening step keeps the air pockets and ridges from showing through the transparent glass tile. Also, the thin-set will be less likely to squeeze out between the spaces of thin mosaic tile.
Cutting the Sheet of Mosaic Tile
It’s great if you have the best tile cutter for mosaic, but a general tile saw should work.
With most tile saws, the slot in the bed is just too wide, resulting in the small mosaic tiles falling in. This makes the job harder, but there’s a simple solution. Just place a thin scrap of plywood under the sheet of mosaic tile as you’re cutting it.
Just make sure that you adjust the cutting depth of the saw, so you’re not actually cutting into the plywood as well. Once you’ve made your adjustment, then you can just cut the sheet of mosaic tile as you’d normally do.

Curves in Mosaic Tiles
It’s very possible that you may need to cut curves in your mosaic tile. That won’t be easy, but it’s doable.
- First, mark the curve on the sheet of mosaic tile.
- Bring the sheet to the saw.
- Remove the individual tiles for cutting.
- Start with straight cuts to remove the bulk of the waste.
- You can also make a series of fingers and them break the fingers off.
- Use the blade of the saw as a grinder to carve along the lines.
Trim the Edges of the Backing
You will have to trim the edges, or else the paper, plastic, or mesh backing that holds the mosaic tiles together can get in your way. The mesh can cause grouting problems if it sticks out into the grout space. And if you have protruding backing, you may not be able to push the adjoining tiles close together.
This means you need your sharp utility knife. Inspect the sheets of mosaic tiles first before you set them, and slice off any excess backing.
Dealing With End Spaces
At some point, you will get to the end of the wall, or up against some sort of object. You’ll then have a gap that’s both too small to fill with tile, but too wide for caulking.
You can spread the rows of tiles a little bit, so you can close the gap. It’s a form of cheating, but it works. Just keep in mind that a bigger gap means you need to spread more rows, so that the adjustments aren’t conspicuous.
Use the utility knife to cut the mesh between the rows. Then use the edge of the trowel to nudge each row into place. Make sure you keep the grout lines even between the rows you’ve spread out.
Tamping
Use a block to tamp the tiles after setting the sheets into the thin-set. This makes sure that the mosaic tile is fully embedded, and that the tiles are all flush with the other tiles.
While you can get a special tamping block for this, any block of wood can do. Just keep the face free of grout that may scratch your tiles. The face of the block should be parallel to the surface, and bounce the block up and down to set the tiles.
Final Cleanup
No matter how well you do, you’ll probably still end up with a few bits of thin-set coming out between the tiles. Just wait for the thin-set to firm up a bit, then use the toothbrush to clean the thin-set out of the grout lines.